Sunday, March 27, 2011

30 Minute Lampshade Redo

I was trying to figure out what to do with the scrap piece of fabric I had left over after recovering the stools to go with Lilly's chalkboard table.  It was a very small piece, not big enough to do much of anything with, but I couldn't make myself throw it away.  I knew if I stood in her room long enough, looking around aimlessly, I would eventually have an epiphany.  I did.

Her lampshade.  Ugly.  See below.


So I got out my craft spray glue (I love that stuff) and went to town.  I cut the fabric to fit, sprayed the back, and placed it on the shade. 

 It still needed something to spruce it up, so I went digging in my ribbon box and found this cute polka dot ribbon to finish the shade off.  I hot glued it around the base. 

I added a bow with hot glue to the front and there you have it.  It took 30 minutes, cost me nothing, and kept me from throwing away a perfectly good scrap of fabric!  What do you think?

Much better!  Now I'm off to find something else to work on...

Kelli

Wednesday, March 23, 2011

Organize Gift Tags = DONE!

My mother-in-law works at Hallmark.  This means I have plastic containers all over my garage filled with wrapping supplies - hundreds of gift bags in every possible size and shape, packages and packages of tissue paper, rolls and rolls of wrapping paper, tons of ribbons and bows and....lots of gift tags.  Every time I come home after visiting her, I add more containers to the garage.  Am I complaining?  No way.  I get excited to dig through her stash and steal all the good stuff; actually, she tells my sister-in-law and me to take as much as we can because she gets more than she can or ever will need or want.  I have grown such a collection from her over the years that I now have more than I could ever need or want.  But I love it all.  I have become a wrapping paper hoarder.

So now that you know the background behind my mounds of wrapping supplies, let me say that my garage is a hot mess.  There are containers in the garage that are under other containers, all filled with wrapping supplies, that haven't been opened in years...yes, years. I finally decided to tackle the organization of all of my goodies.  What came over me to prompt this project, you ask?  I have no idea, other than I just want my garage back.   Hallmark containers, please give me my garage back. 

I decided to start this massive project (which I expect to take weeks) with the smallest item out there. I knew the gift tags were all in one container.  Tags have been thrown on top of tags for years in that one container.  When I need a tag, I just stick my hand in and hope for the best.  The gift tags just seemed like the perfect place to start.

Lilly and I emptied the whole box in the floor and separated them in stacks by type.  She is a great helper.


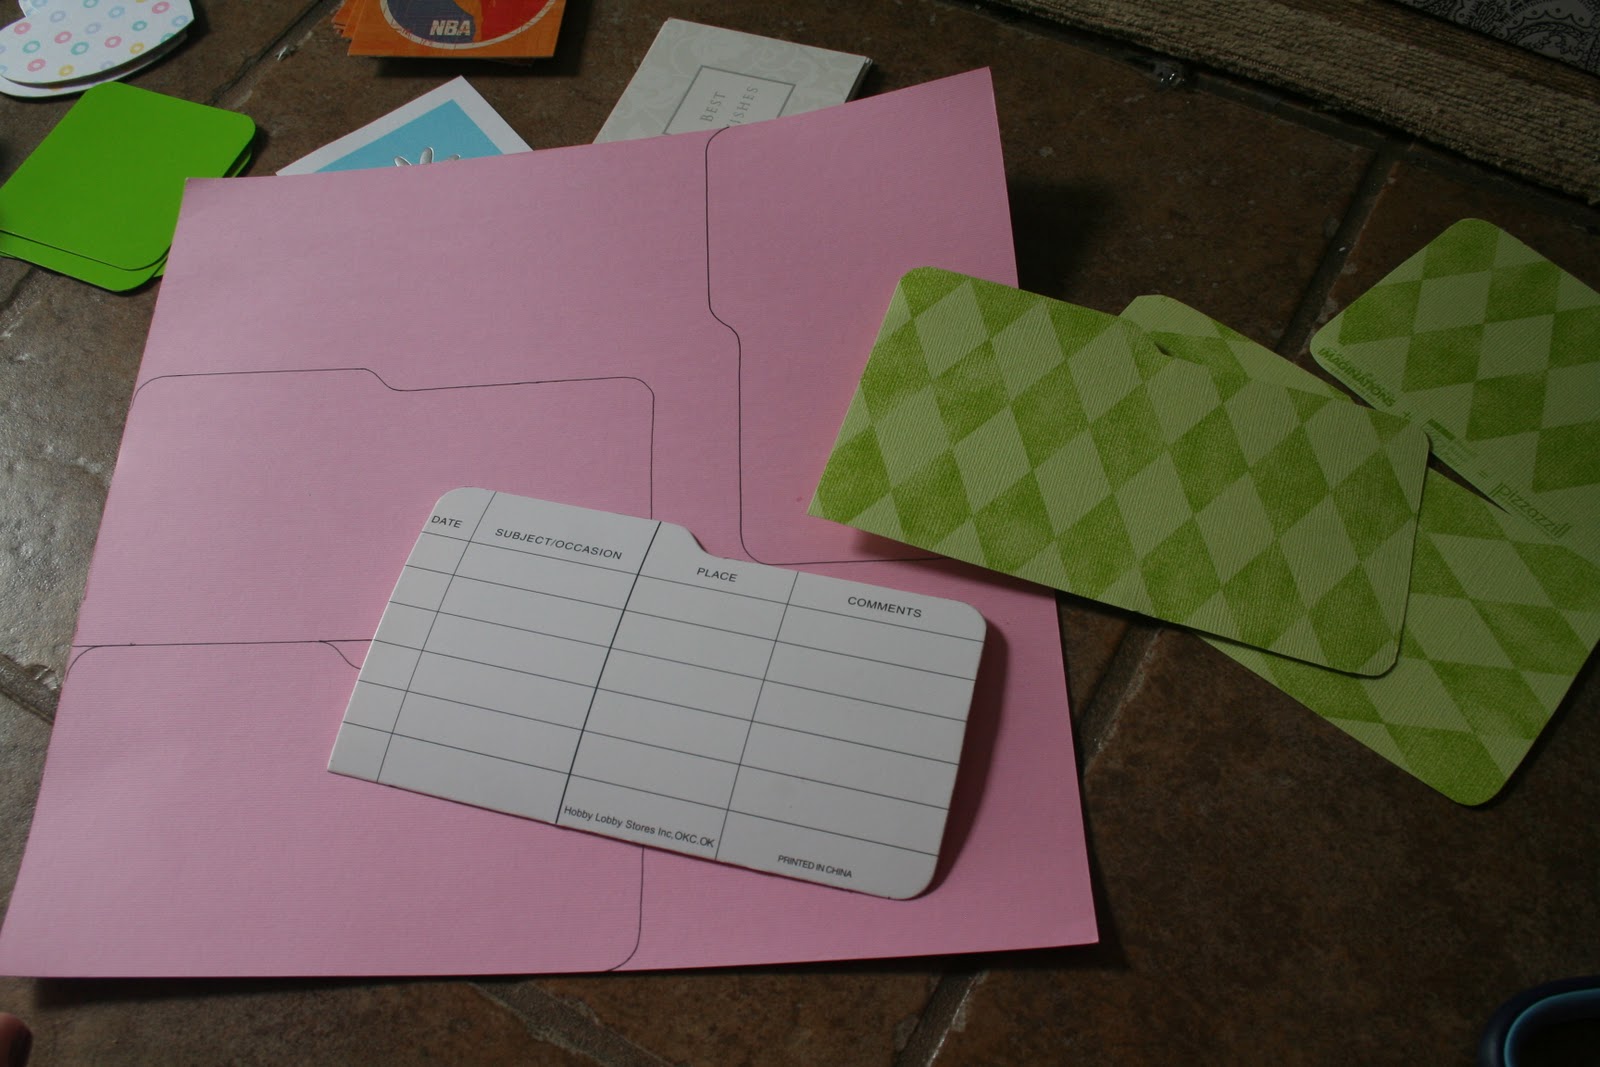
Next, I got a photo box and pulled the divider inserts out (UGLY!).  I used one of the inserts as a template to cut out some much cuter ones. 

I labeled each insert and then laminated them to make them a little sturdier.

So here's the final product.  It's a small accomplishment, but each one counts, right? 

I know this doesn't seem like much, but to me, it is one step closer to a more organized life.  And garage.  I still cringe every time I step into the garage on my way to the car every morning, and I cringe again every time I get home and open the garage to get back into the house.  But I am one step closer.  I finally did something that has been on my to-do list for years!  It feels good.
Kelli

Saturday, March 19, 2011

Lilly's Recycled Chalkboard Table and Stools

So for all of you that know me and are wondering how in the world I have time to write a blog...I don't. I have been reading up on other DIY-ers and their fun projects and thought why not share mine with the world as well? I'll just write as I find the time. So for the first blog, I am showcasing a table and stools I re-purposed for Lilly's room. The table used to sit in my den...it's sturdy, made of wood, and has cute little curves. So when I got it on craigslist and very shortly thereafter realized it was really too little to serve as the coffee table, I knew I had to find another use for it because it was too cute to let go. I found some $4 sewing stools at the antique store and had a plan....
Here is the before picture of all 3 pieces:
I had seen on Centsational Girl's blog where she made a chalkboard table for her little girl's room and thought this would be perfect for Lilly's room. So I painted the stools and the table white, recovered the stools, and added chalkboard to the top of the table. Here are some in progress pics:
After taping off where I wanted the chalkboard, I ran very thin bead of paintable caulk down the seam to keep any paint from running underneath and causing me to have to do damage control later.
See, no runs in the paint!
I added a little purple pizazz to separate the chalkboard line from the white of the table...
And now for the grand finale....the finished product!
As much as Lilly loves to do art, this is the perfect solution for her room. She has a place to sit and draw or color... in her coloring books OR on her table :)! And the stools both open which gives her a place to store her art supplies.
One last shot of the final product:
So, what do you think? Total cost of this project was about $40.
If you want to see what crazy ideas I come up with for reusing, recycling and repurposing things, become a follower of my my blog! I have lots of projects planned already, and some things I intend to sell after I complete them.
Thanks for reading, and stop by again soon.
Kelli
This post is linked at Addicted to Decorating's link party!